OK. Once I have my drum track laid in and I am happy with the style and tempo it's time to set up my 1st guitar track.
In the bottom left of GarageBand there is a "+" button.
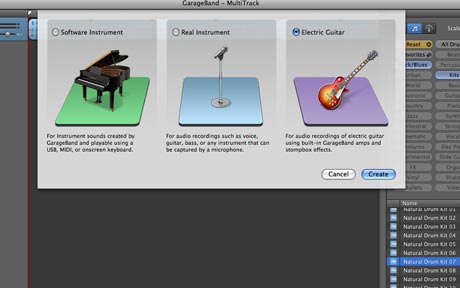
This is the shortcut to add a new track. By clicking this (pic 17) , it opens the track choice window where you can choose a Software Instrument, a Real Instrument, or the new Electric Guitar track feature in GarageBand '09 that utilizes the new amp models and stompboxes.
This feature is for recording guitar direct, rather than using a real amp and a mic.
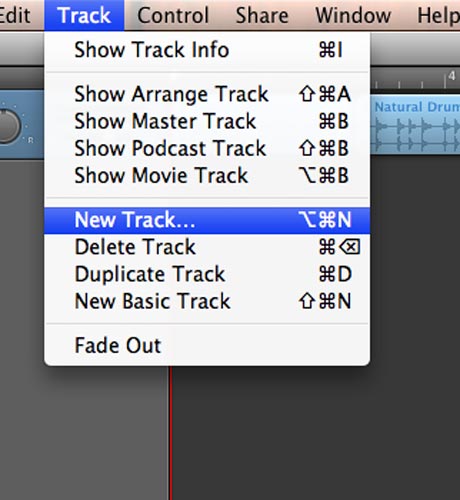
For this project I am going to record direct with one of the amp models, so I'll choose a new Electric Guitar track. You can also choose a "New Track" under the Track menu (pic 18) or use the keyboard shortcut Option - Command (Apple) - N.
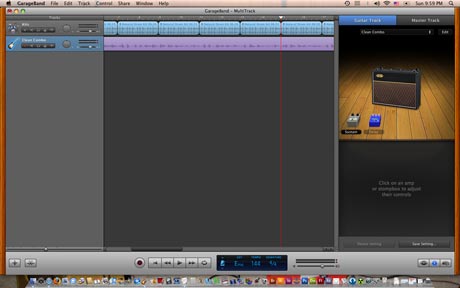
By doing this, GarageBand sets you up with a new blank track ready for recording your guitar direct into one of their new amp models. Also you can see below on the LCD window that the tuner is active as a reminder to tune up before recording.
Personally I'd rather tune with my analog Korg tuner, the tuner in GarageBand is kind of squirrelly but it certainly would do in a pinch if you had no alternative.
Begin recording your guitar track, or which ever instrument it is that you want to record first by hitting the Record button.
Don't forget to set yourself up with a Count In in the Control menu if you want one and also make sure you have set the monitor for that track to on with feedback protection (for a refresher on this check back with my 7 steps to get started).
As you record your guitar track you will hear your drum loop. This will help you lay down your guitar groove, but even if you mess it up you can undo or delete it and start again.
Also when I use a drum track rather than a click track, I like to turn the metronome off for recording. You can do this in the "Control" menu if you prefer.
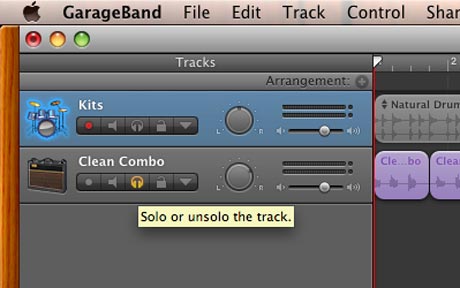
You can play back your recording by using the transport controls to bring you to the beginning of the song and then hitting the "Play button" or "space bar." If you want to, you can solo your recorded track so you here only that track (pic 21a).
Audio Example #1
Drums and Guitar 1 - Unmixed
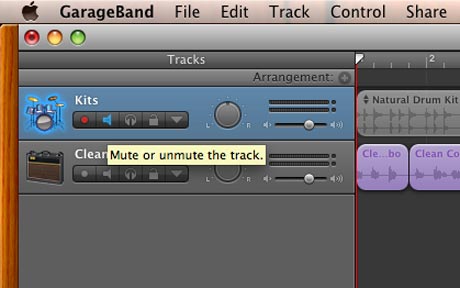
Or alternatively, you can mute the drum track.
As you record more tracks you will see how useful it can be to solo or mute a track or multiple tracks. Let's say you recorded a rhythm guitar track and a lead guitar track along with bass and a drum loop and you want to hear just the two guitar tracks.
Audio Example #2
Drums, Guitar 1 and Bass - Unmixed
You can push the "solo button" on each of those guitar tracks to hear them only. Or let's say you want to hear all the tracks except for the lead guitar track. You can simply "mute" the lead guitar track and just listen to all the other tracks - a very useful feature when you get to mixing and mastering.


