Now I'll take it a step further and show you how to record multiple tracks.
We'll still keep it basic for now and use the amp models within Apple GarageBand to record multiple guitar tracks and a bass guitar track, and use one of GarageBand's drum loops for the beat.
Later on we'll go more in depth with mixing and adding effects.
Also stay tuned for a future session on recording guitar techniques, where we ditch the GarageBand amp models for a real amp or two.
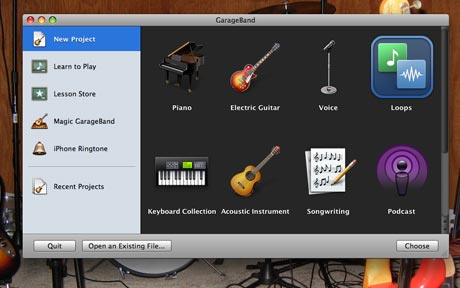
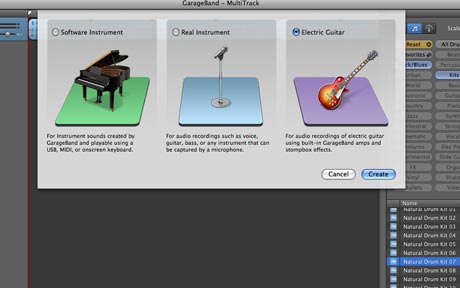
Open a new project in GarageBand and select Apple Loops.
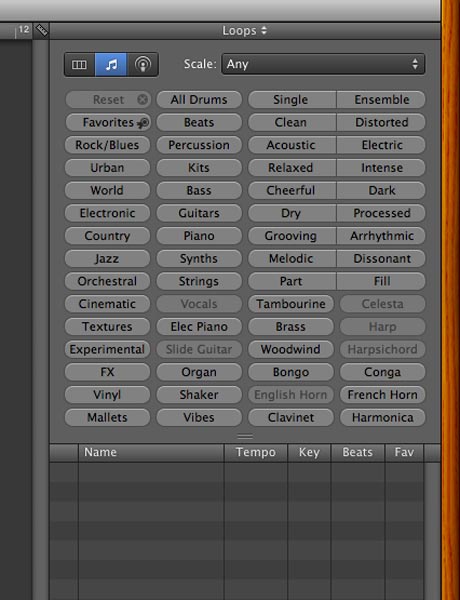
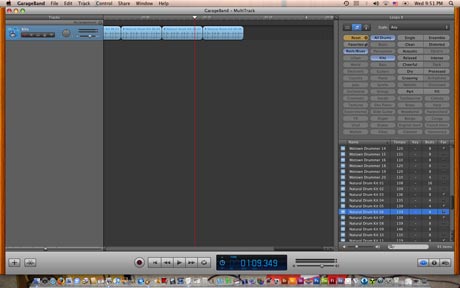
By default there will be no tracks set up when you open with Apple Loops, but as you can see to the right is the library for all the loops at your disposal. (pic 2)
There is a range of everything here, from synths and strings to drum kits and movie sound effects. You can choose to search for loops by instrument types, mood, or genre, etc.
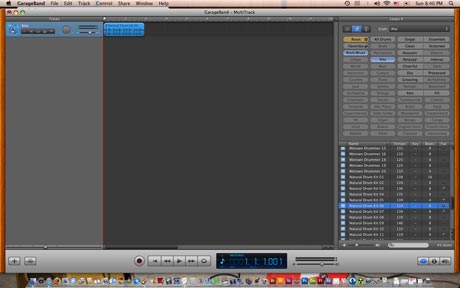
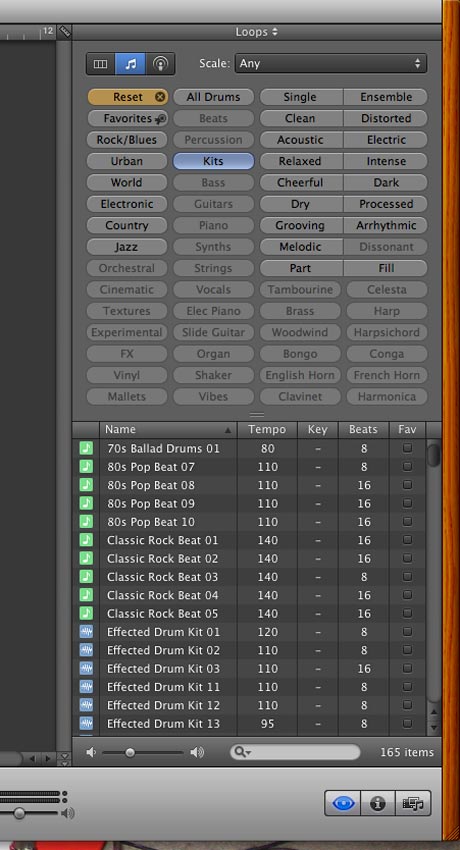
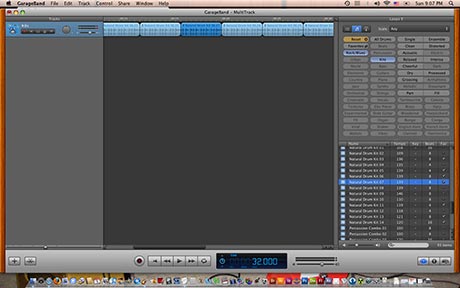
I am going to click on "Kits" so I can sample a list of potential drum set loops for my song. (pic 3) When recording for guitar, I like to first start with a drum track. This helps me play in time even better than a click track or metronome, because often in a drum track the beat is subdivided, helping me stay in time better when I play or record.
You can now sample the drum kit loops simply by clicking on any given loop in the list. If you don't know what you are looking for you can always start at the top, click on one to hear it, and use your arrow key to scroll down to the next loop one at a time until you hear one that suits your song. Or you can use the scroll bar to jump further down the list to find one that way. It's as easy as clicking on it. If you want to stop sampling just click the loop again to get it to stop playing.
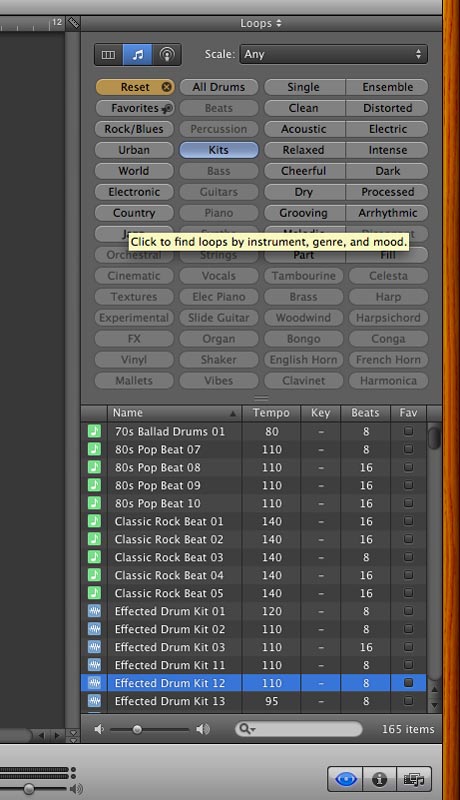
If you want to narrow your search you can see above, that once you select "kits", you can narrow it further by choosing "genre" or "mood" in the upper window. (pic 4)
I am in the rockin' mood so I am going to narrow my search to the Rock/Blues genre. (pic 5)
Note!! The blue Apple Loops are actual recorded sounds and the green are apple loops are from software instruments and created from a synth or computer as MIDI.
For more on MIDI ask Ron - He's the MIDI Guru.
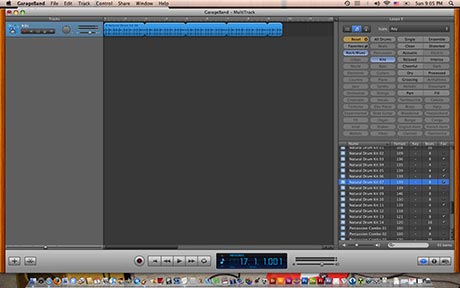
When you choose a drum loop you are happy with, you can simply drag it over to your project from the loop library. You can see that this automatically makes a new track. Make sure you drag it to the beginning of your song, or wherever you want the loop to begin. If you haven't done that you can simply drag it within the timeline.
I am going to start the drum loop right at the beginning of my song.
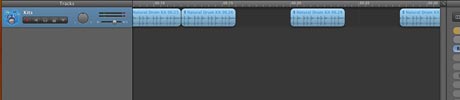
By dragging the loop into your project, you can see the loop appears in your timeline as a measure or two of audio. Also, you can see from the loop library how many beats the loop is for. In this case I chose an 8 beat loop which is 2 measures, not quite long enough for my song.
Determine how long you think you song is going to be, and if you are super organized and know how many measures (or bars) you are recording you can extend your drum loop for that amount of time.
I on the other hand am never organized enough to know how many bars my song is, and I usually just guess how long I think the song will be and add enough drum track to cover it, even if it goes long. I can always delete the extra bars once I am done recording.
For this demonstration I am just going to do a little ditty, so let's say 1 minute.
Next there are two things I could do.
You can copy the loop and paste it as many times as it takes to get your song length where it needs to be. (pic 7).
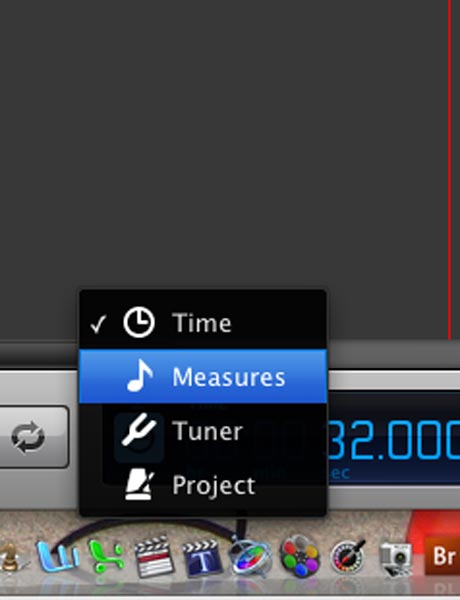
The best way to do this is to make sure in the bottom LCD like window you are selected on Measures (pic 9) because you can easily copy the loop and snap your playhead to the end of the measure and paste continuously.
As a reminder the keyboard shortcuts for: COPY = Apple (or Command) - C
PASTE = Apple (or Command) - V.
You may at some point want to switch to "Time" in the bottom LCD like window to see how many minutes your song is if you are trying to approximate as I am, but unless I am missing something, the playhead won't snap when selected on Time (pic 10)(pic 8).
I am set at around 1 minute.
The other thing you can do is bring your mouse to the top end of the loop and click. You will see your cursor change from an arrow to a circle arrow. When that appears you can drag the loop and it extends for as long as you need it.
Which way is better?
I honestly don't know.
Just out of habit I usually just copy and paste loops.
This way it's easier if I decide when composing the song to have a bar or 2 or no drums, I can easily take that section out by selecting that one segment of my loop and hitting the delete key without disrupting the rest of the track. (pic 12)(pic 13)
You can playback and stop your drum loop track by using the transport controls at the bottom of the GarageBand window, or you can use your space bar to start and stop your sequence.
Remember you can also change the tempo by clicking in the LCD window below and clicking on the Project setting to change the tempo. (pic 16)
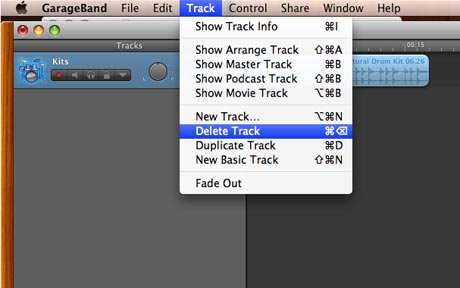
TIP!! If you decide to change your mind once you get the loop in. No problem. Just select all the loops segments and delete them by hitting your delete key, or delete the entire track by in the menu at the top under Track.
You can start the whole process of dragging a new loop over again. You can even do this after you have recorded your guitar parts or other parts.
That's the beauty of recording in GarageBand. There's a million ways to do things and no rules!


